Craft · headshots
Professional headshots
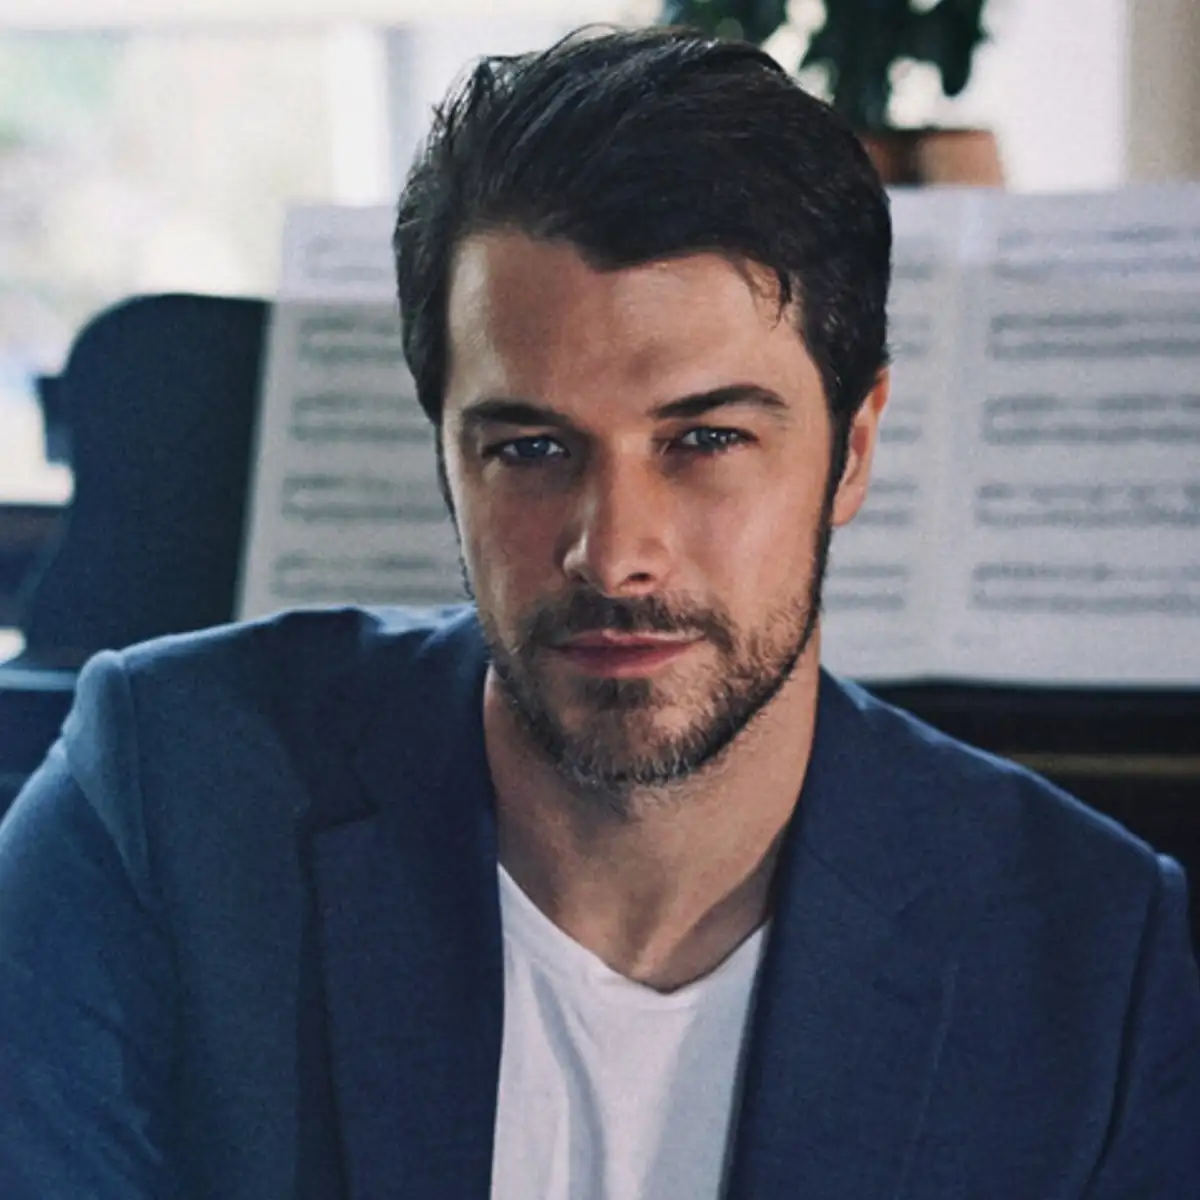
A headshot should show clearly what a person looks like and make a stranger comfortable getting in touch. I've photographed professionals who needed new pictures for a CV, a company website or marketing materials, and the brief is nearly always the same: look like yourself on a good day. Book jackets and conference programs use them too, and most people need a new one every few years. Here is how I prepare, light and pose a headshot, and what I hand over at the end.
Frame 01Before the session: a prep checklist
A good headshot starts with some preparation, so this is the list I send ahead of time.
- Find out where the image will be used: a company team page, a speaker profile, a book jacket, a professional networking profile. Each may have its own crop or background rules.
- Ask whether colleagues already have headshots. Matching their background and framing keeps a team page consistent.
- Get a haircut about a week before, not the day before, so it has time to settle.
- Bring two or three tops or jackets on hangers so they arrive without creases.
- Glasses wearers: bring the frames you wear every day. Anti-reflective coatings help; I adjust the light angle for the rest.
- Keep makeup close to everyday, with a little powder for shine. Lip balm helps more than people expect.
- Drink water, sleep, and skip the salty dinner the night before if you puff up easily.
- Block a little more time than you think. Rushing shows on faces.
Frame 02Light
Soft light from one side and slightly above eye level suits almost everyone. Indoors, a large window does the job, using the distances in my window light setup. With a flash, an umbrella or softbox at about 45 degrees works, as set out in the one-flash setup. Add a white reflector on the other side to soften the shadow for a brighter, friendlier look, or leave it off for more contrast. Make sure there is a catchlight, a small reflection of the light source, in both eyes. Without it, eyes look flat.
Three setups I use
| Setup | Where the light goes | Best for |
|---|---|---|
| Window or softbox at 45° | About 1 to 1.5 m from the face, a little above eye level, white board opposite | Most people; a friendly, shaped look |
| Clamshell | Light straight in front and above, angled down; reflector below the chin, angled up | Even, flattering light; helps with under-eye shadows |
| Short light | Light on the side of the face turned away from the camera | Slimming, more serious portraits |
For a white or light grey background, I either light the backdrop separately or simply place the person close to it and let the main light spill on. For a dark, moody background, I do the opposite and move the person well forward so the light falls off before it reaches the wall.
Frame 03Lens and camera height
A short telephoto, 85mm to 135mm on full frame, lets you stand far enough away that the nose and chin stay in proportion; for a tight head and shoulders frame that puts me roughly 1.2 to 2 meters away. Shoot from eye level or a little above. A camera below the chin makes most people look heavier and less approachable. Use an aperture around f/4 to f/5.6 so both eyes and the tip of the nose are sharp, and focus on the eye nearest the camera. More on focal lengths is in the lens chooser.
Frame 04Posing the face
- Turn the shoulders about 30 to 45 degrees away from the camera, then turn the face back toward it.
- Ask the person to push the forehead slightly toward the lens. It tightens the jawline without the subject feeling it.
- Keep the chin level, neither raised nor tucked.
- Relax the hands and shoulders. I ask people to take a breath and let it out just before I shoot, which drops tense shoulders.
- For a genuine smile, talk. Ask about their work or a weekend plan, and shoot as they answer.
- Take many frames. Small changes in expression make the difference between one shot and the next.
Most people arrive nervous, and I don't blame them. I work in a relaxed, joking way, and the first ten minutes are mostly warm-up frames nobody will see. By the time I'm taking the real ones, people have stopped thinking about the camera. The same approach works with teenagers, as I describe in senior portraits.
Frame 05Background and clothing
Plain backdrop
Grey, white or dark. The safest for company sites, where headshots of different people sit side by side, and easy to match when a new colleague joins.
Environmental
An office, a street, a workshop. Says more about the person and their work, but harder to keep consistent across a team.
Outdoors or in an office, keep the background well behind the subject so it blurs. Downtown streets and building fronts can give a business look, as described in downtown Baton Rouge and the levee, and university settings suit academics, as in portraits on the LSU campus.
Solid, mid-tone colors work best. Avoid fine stripes and small checks, which can produce shimmering moiré patterns on screens, and large logos. Collars and necklines frame the face, so a jacket, collared shirt or simple top looks tidy. My general wardrobe advice from what to wear for portraits applies here too: the face is the focus, so keep everything else simple. Bring two or three options and decide on the day. If the business also wants pictures of its lobby or dining room, the guide to photographing rooms and buildings covers that half of the job.
Frame 06How the session runs
A headshot session is short, but it has a rhythm. I set up and test the light on a stand-in or on myself before the person arrives, so they never wait while I fiddle with a light stand. Then the person picks the first outfit, and I take a set of warm-up frames while we chat. After fifteen minutes or so I show a few frames on the camera screen. Seeing a good picture early relaxes people more than anything I can say.
From there I change one thing at a time: outfit, background, then a slightly different light for variety. Changing everything at once makes it hard to compare frames later. Most of my headshot sessions end with two or three looks and a clear favorite in each.
Frame 07Author photos
Author photos often run small on a book jacket and larger on a website or event poster, so the face needs to read clearly at any size. Publishers and festival organizers may ask for a high-resolution file, a portrait crop and sometimes a black and white version. Find out the requirements before the shoot. A slightly more personal setting, such as a bookshelf, a garden or a favorite chair, can suit the tone of the book better than a studio backdrop. Monochrome conversions are covered in the black and white guide.
Frame 08What to deliver
- A high-resolution file for print
- A smaller web version
- A square crop for profiles and social media, with room around the head so round profile frames don't cut the chin
- A black and white version if it will be used in print programs
- Clear written terms on where the image can be used and by whom
I keep retouching on headshots light: stray hairs, a blemish, a little under-eye softening. People should recognize the person when they meet them. Choosing the final frame usually happens in a private online gallery, the way I describe in how proofing galleries work.
For commercial work, agree in writing whether the person, their employer or a publisher can use the image, and for how long. For more on choosing a photographer and the questions to ask, see questions to ask before booking, and for other technique pages, the photo craft hub.