Craft · light
Natural light portraits
Most of my favorite portraits were lit by the sun, filtered through a window, a tree or a cloud. I've photographed newborns, families, seniors and business owners in every kind of daylight, and what has helped me most is noticing where the light comes from and turning people toward it. Below are the setups I use again and again, with the distances, angles and camera settings I start from and the reasons behind them.
Frame 01How I read the light before I pick up the camera
Before a session I walk the room or the park and look at three things. First, the direction: which side is the light coming from, and is it level with a face or coming steeply from above? Second, the size of the source compared with the person. A big window or a wide patch of open sky close to someone gives soft light with gentle shadow edges, and a small or distant source like the bare sun gives hard edges. Third, the color. Light bouncing off a red brick wall or a green lawn carries that color onto skin.
A quick trick: hold your hand up, palm toward you, and turn slowly in a circle. Watch where the shadows on your palm look smooth and where the bright side gets a nice shine. That spot, facing that way, is usually where I put a person.
Frame 02Window light indoors
A large window with no direct sun coming through it is the simplest portrait light there is, and it's the light I use most indoors. Place the person a few feet from the window and turn them slightly toward it. The side of the face nearest the glass is bright and the other side falls gently into shadow, which gives the face shape. Move them closer for more contrast and softer edges, farther back for flatter light.
My starting window setup
- Turn off every lamp and overhead light. Tungsten bulbs sit around 3,000 K, much warmer than daylight, and they put orange patches on skin that are hard to fix later.
- Seat or stand the person about 1 to 2 meters (3 to 6 feet) from the window, with their body at roughly 45 degrees to the glass.
- I stand with my back partly to the window, so the light falls across the face toward me. Standing with the window directly behind me gives flat, even light; standing at 90 degrees to it gives a dramatic half-lit face.
- Turn the face slowly toward the window until both eyes show a catchlight, the small bright reflection of the window that makes eyes look alive.
- If the shadow side is too dark, add a white board or reflector on that side, about an arm's length from the face, and slide it closer until the shadow opens up.
North-facing windows give steady light most of the day in the northern hemisphere. Sheer curtains soften harsh sun, and a white sheet taped over a sunny window turns it into a giant diffuser. Window light is my first choice for maternity portraits by the window, and it works just as well for newborns. It's one reason I like home sessions when the house has good windows, a choice I explain in studio, home or lifestyle newborn sessions.
Feathering the light
Feathering means letting the edge of the light, not its center, fall on the face. With a window, I do this by turning the person a little away from the glass, so the light glances across them instead of hitting them straight on. Highlights get gentler and skin looks smoother, which helps with teenagers and adults who worry about texture.
Frame 03Open shade outdoors
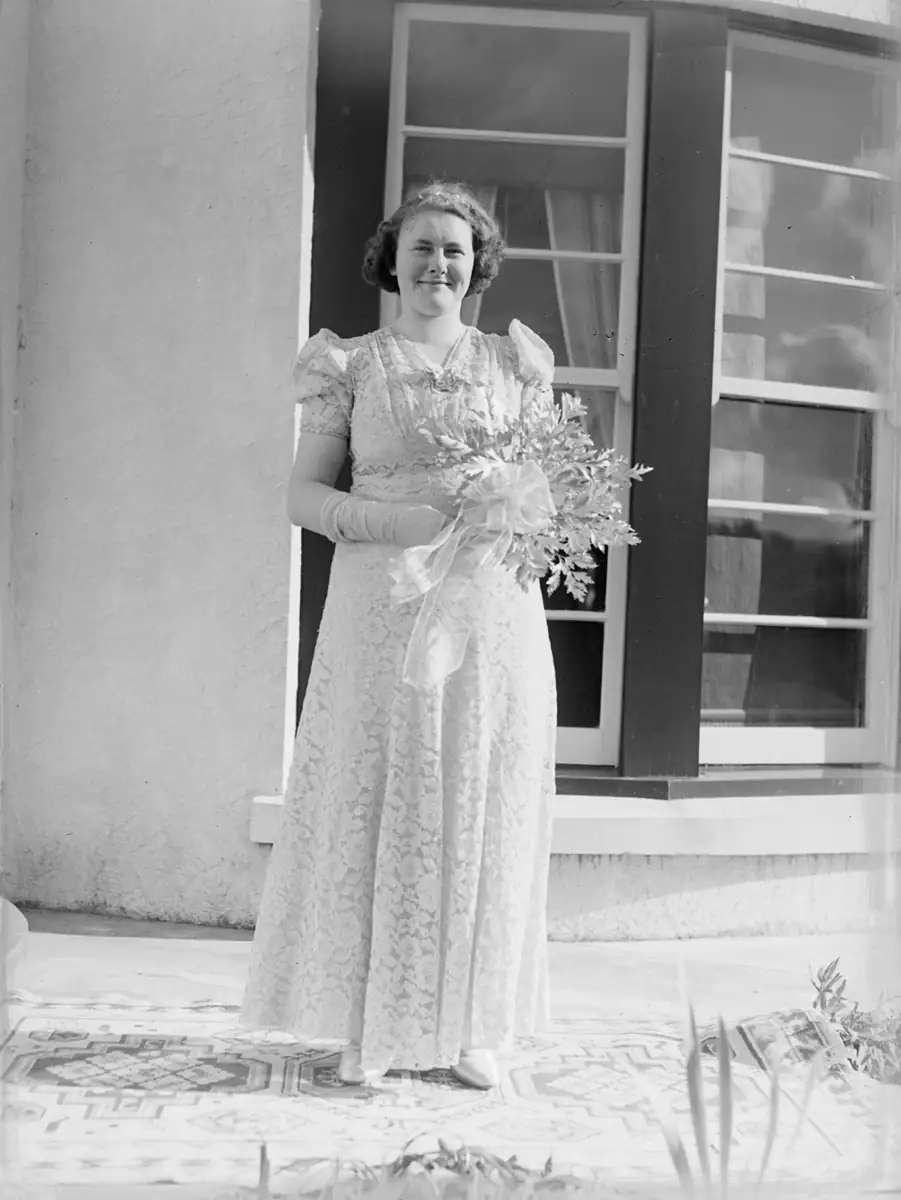
Open shade is shade with a view of open sky: under a porch roof, at the edge of a tree, on the shady side of a building. The sky lights the face evenly while the roof or branches block the hard sun above. I put the person just inside the shade, facing out toward the bright area, and check that no specks of sunlight land on their face. Dappled spots on a cheek or forehead spoil more outdoor portraits than anything else I can think of.
Deep shade under thick trees can turn skin green, because light bouncing off leaves is green. Moving to the edge of the canopy fixes that. The same idea applies under the oaks described in South Louisiana oak alleys, and along the tree lines at the LSU lakes and City Park.
Shade is lit by blue sky rather than direct sun, so its color temperature runs higher than midday daylight, often somewhere around 7,000 K or more. If skin looks cold, switch the camera's white balance to the Shade preset or warm it up when editing raw files.
Frame 04Backlight and golden hour
When the sun is low, I like to put it behind my subject. Hair and shoulders get a warm rim of light, faces stay free of squinting and the background glows. Expose for the face, not the sky, so the face is bright enough; the sky will go pale, and that's fine. A reflector on the camera side bounces some sun back into the face. A white foam board from a craft store works, and a gold or silver reflector adds more punch when the sun is strong.
Where I put the reflector
I hold or prop the reflector in front of the person and a little below face height, angled up toward the face, usually 1 to 1.5 meters away. Too low and it lights up nostrils and the underside of the chin; too far and it does nothing. Watch the face while you tilt it, and you'll see the moment it starts working.
Golden hour, roughly the first and last hour of sunlight, is the easiest time for backlight. In Baton Rouge I schedule outdoor sessions for early morning or early evening for exactly this reason, and from late spring into summer the evening window gets shorter as the heat builds. The seasonal notes in South Louisiana light through the year help with timing. Lens flare appears when the sun shines straight into the lens. Some people like the haze; when I want a clean frame I shade the lens with a hand or a hood. Expectant moms in a field at sunset are probably the classic use of this light, and I cover that in outdoor maternity sessions.
Frame 05Overcast days and midday
A cloudy sky is a huge softbox. Overcast light is flattering at any hour, though it can look dull, so warm colors in clothing help, and a little extra contrast in editing brings back some life. I'm always a bit happy when a session day turns out lightly overcast.
Midday sun with no clouds is the hardest light. Coming from Sweden, where the sun sits low for much of the year, the high Louisiana noon sun still surprises me with how steep and hard it is: it drops dark shadows into eye sockets and under noses. If I have to work in it, I find open shade, or I put the sun behind the subject and fill the face with a reflector or flash. The single flash method handles this well.
Frame 06Camera settings that help
I start from these and adjust once I see the first frames.
| Setting | Where I start | Why |
|---|---|---|
| Aperture, one person | f/2.8 to f/4 | Soft background, but enough depth to get both eyes sharp |
| Aperture, group | f/5.6 to f/8 | Two rows of faces need more depth of field |
| Shutter, children | 1/250 s or faster | Freezes small hands and sudden turns |
| Shutter, still adults | 1/125 s or faster | Fine with steady hands and a short lens |
| ISO | As low as light allows, then up | A little noise beats a blurred face |
| White balance | Daylight or Shade preset, raw files | Consistent color across a whole set |
I shoot in aperture priority or manual. In a dim room the order of trade-offs is simple: open the aperture first, then hold the shutter at a speed that freezes the person, and let ISO rise to make up the rest. Modern cameras handle high ISO far better than most people expect, and children won't hold still at 1/60.
A fast prime lens makes window light much easier. The trade-offs are covered in the guide to focal lengths for portraits.
Frame 07Practice at home
Seat someone at the same window at three times of day and take the same picture. Then turn them a quarter turn at a time. You'll see how much the face changes with each turn and each hour. Do the same outdoors at the edge of a tree, stepping the person one pace deeper into the shade each frame. Toddlers make honest practice partners because they never hold a pose, and the ideas in photographing toddlers pair well with window light at home.
The same window and reflector setup also makes a clean business portrait, as I show in headshots for work and books. The section index, guides to light, lenses and gear, lists the related pages, including converting portraits to monochrome.